BlogShop WordPress Theme
WordPress Theme for Blogging and Ecommerce Store
- Created : 22 April 2020
Install WordPress
To get this theme you must have WordPress already installed. If you need help installing WordPress, follow the instructions in WordPress Codex. Below are some useful links on WordPress information:
- WordPress Codex – general information about WordPress and how to install it on your server.
- First Steps With WordPress – general information included a wide variety of topics.
- FAQ New To WordPress – most Frequently Asked Questions regarding WordPress.
Install theme
When purchasing BlogShopPro theme from theimran.com, you will be able to download BlogShoppro files from your theimran.com account. Download BlogShoppro.zip and upload it on your directory.
Install BlogShoppro theme via WordPress.
- Login to your WordPress dashboard, go to Appearance > Themes > Add New > Upload Theme and click Choose File Button.

- After slelct"blogshoppro.zip" from your computer Click on "Install Now" button.

- Wait the theme being uploaded and installed.
- To activate the theme: Go to Appearance > Themes hover over the theme and and click Activate.
Install theme via FTP.
Follow the steps below to install theme via FTP.
- Log into your hosting space via an FTP software
- Unzip the BlogShoppro.zip file and ONLY use the extracted BlogShoppro theme folder
- Upload the extracted BlogShoppro theme folder into wp-content > themes folder
- To activate the theme: Go to Appearance > Themes hover over the theme and and click Activate.
Common Install Error: Are You Sure You Want To Do This?
The “Are You Sure You Want To Do This” message may occur, means that you are limited in upload file size. Consider install the theme via FTP if this happens, or contact your hosting provider and ask them to increase the limited size.Install required plugins
Once you activated BlogShop theme than You will get a notice for installing required plugins.
- Click on "Begin installing plugins" to install required plugins.

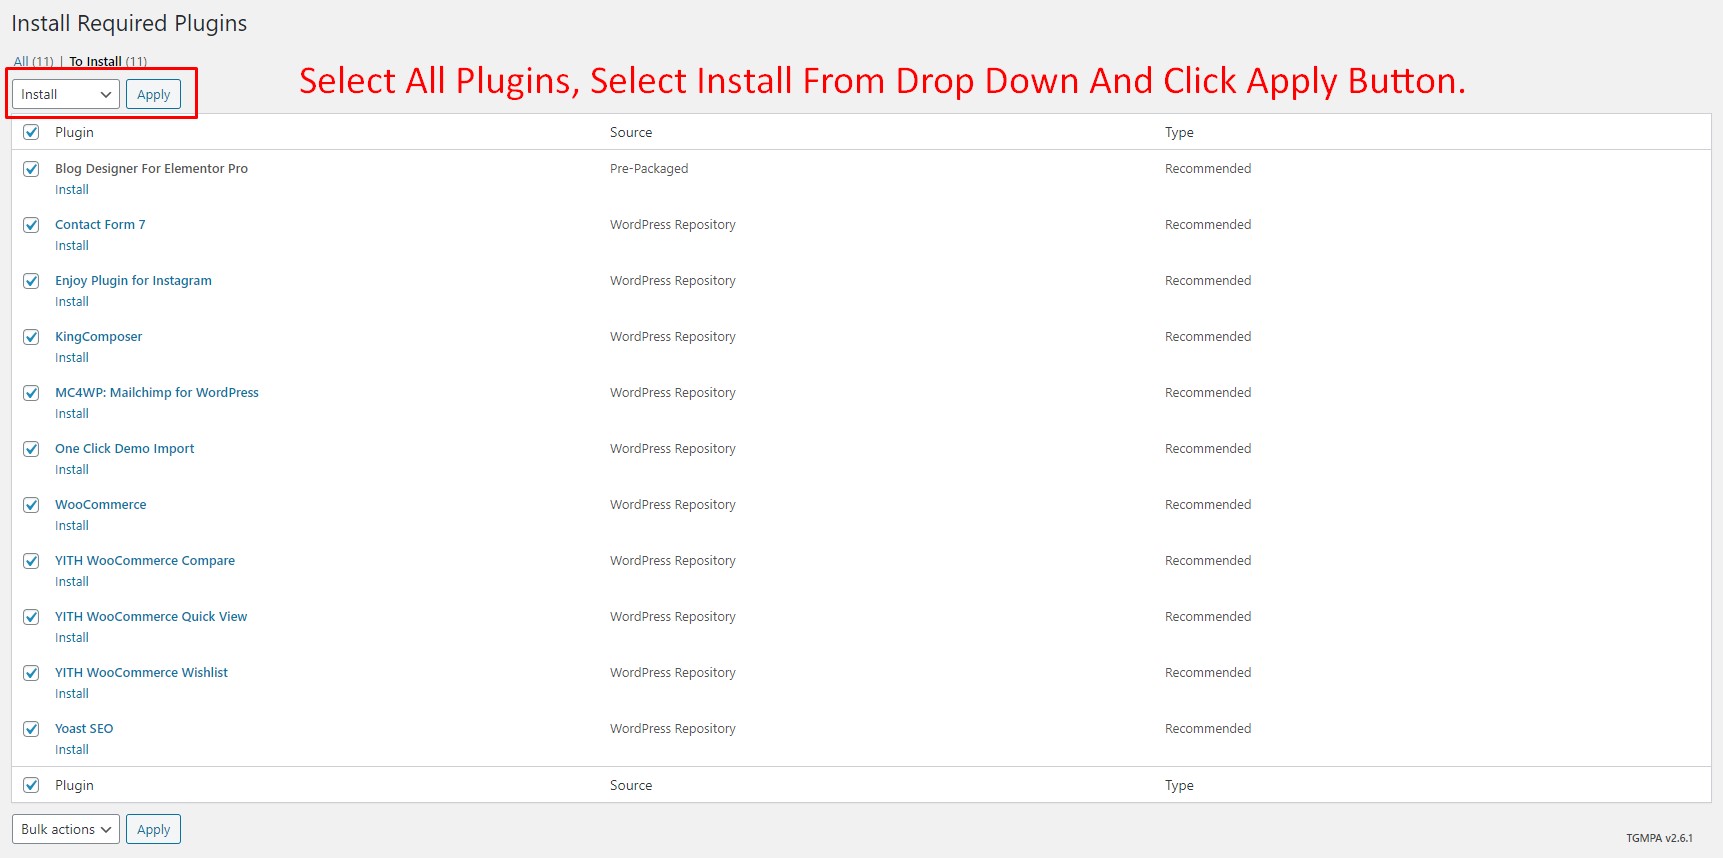
- Select all required plugin, From the top dropdown menu select Install and click Apply.
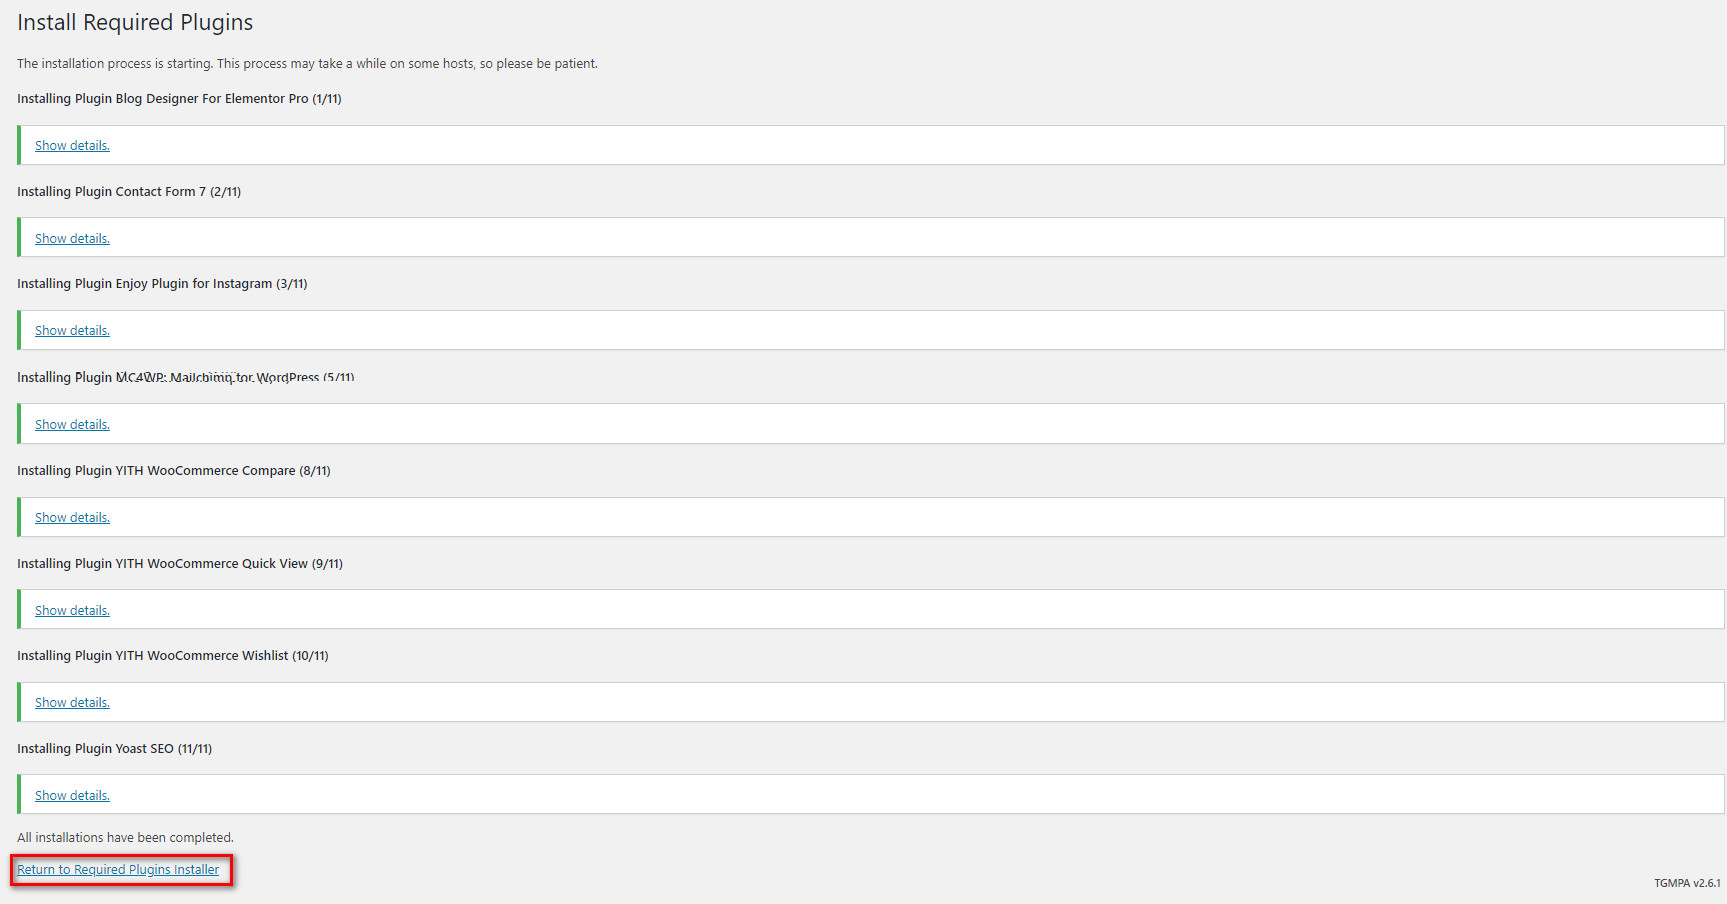
- After Install all plugins sucessfully click Return to Required Plugins Installer.
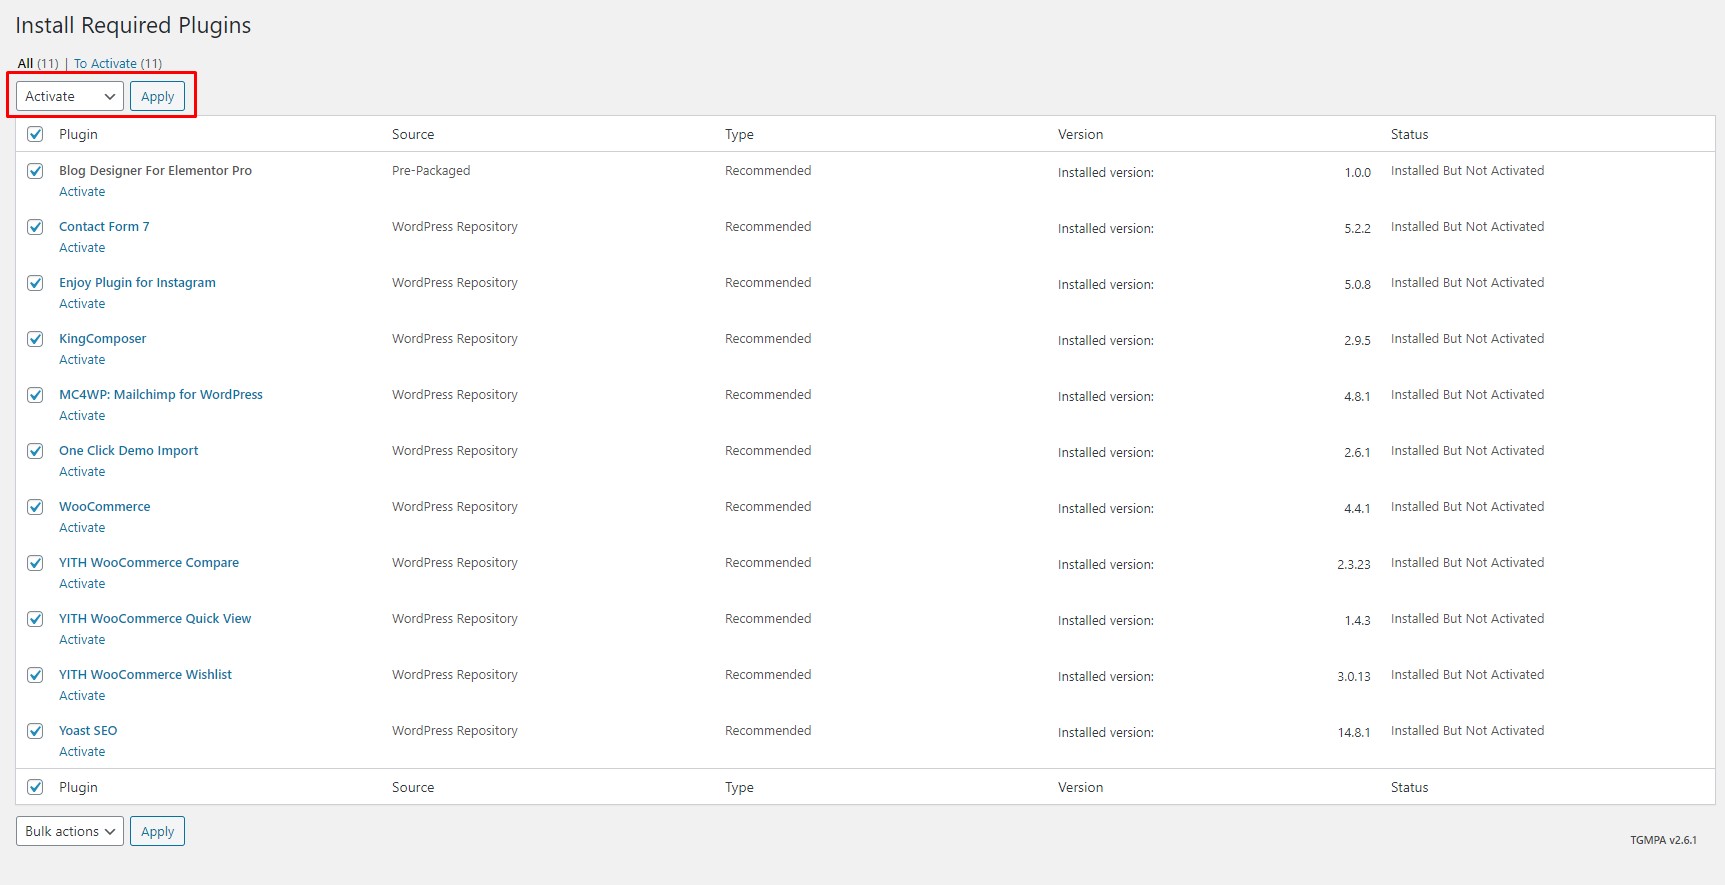
- Select all required plugin, From the top dropdown menu select Activete and click Apply.
Import demo data
Import Demo Data – Now users can quickly and easily import our demo content with only one click to the button. This is the preferred method because it's the fastest and easiest way to get our demo content. It will import all our pages, posts, sliders etc.. If you wish to use our One Click Demo Content Importer, please see the guide below.
-
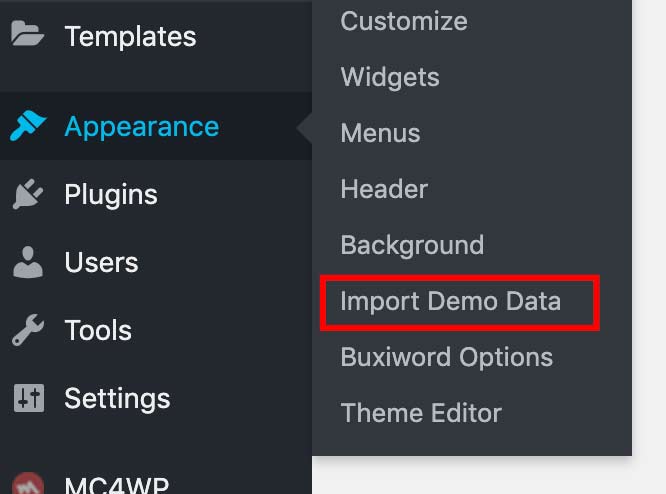
For import demo data go on Appearance > Import demo data.
-
You will see demo data import screen.
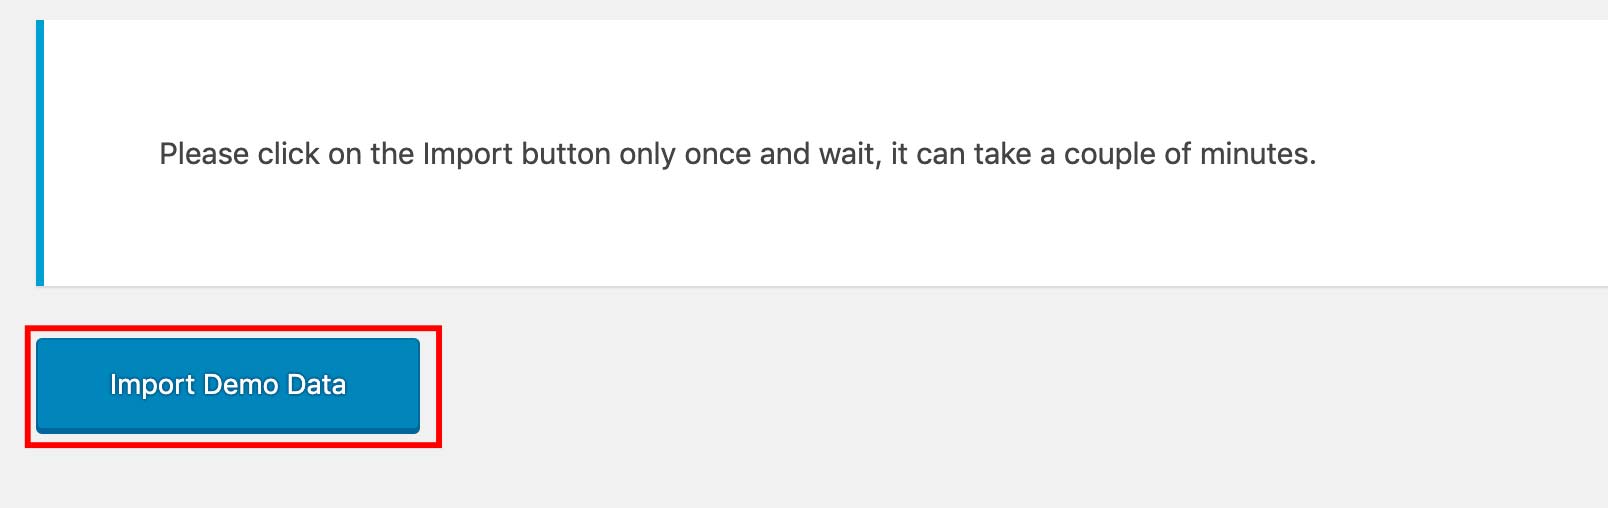
- Click on import demo data and please wait for import all data. It may take 3 to 5 minute depends on your sarver speed. Please be patient don't click import demo data button twice.
Create front page
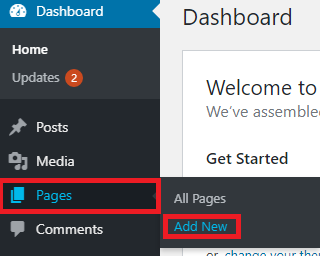
1. Go to:- Pages > Add New
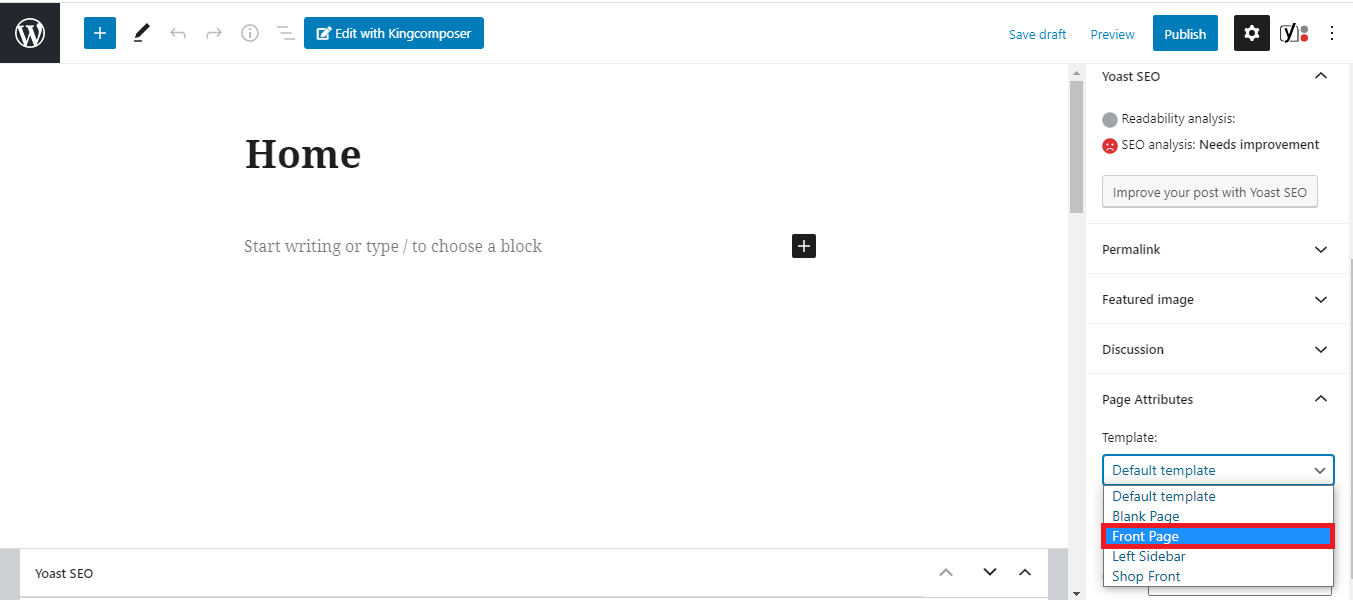
2.Lebel it home or which you want. Select this page as front page like image below.
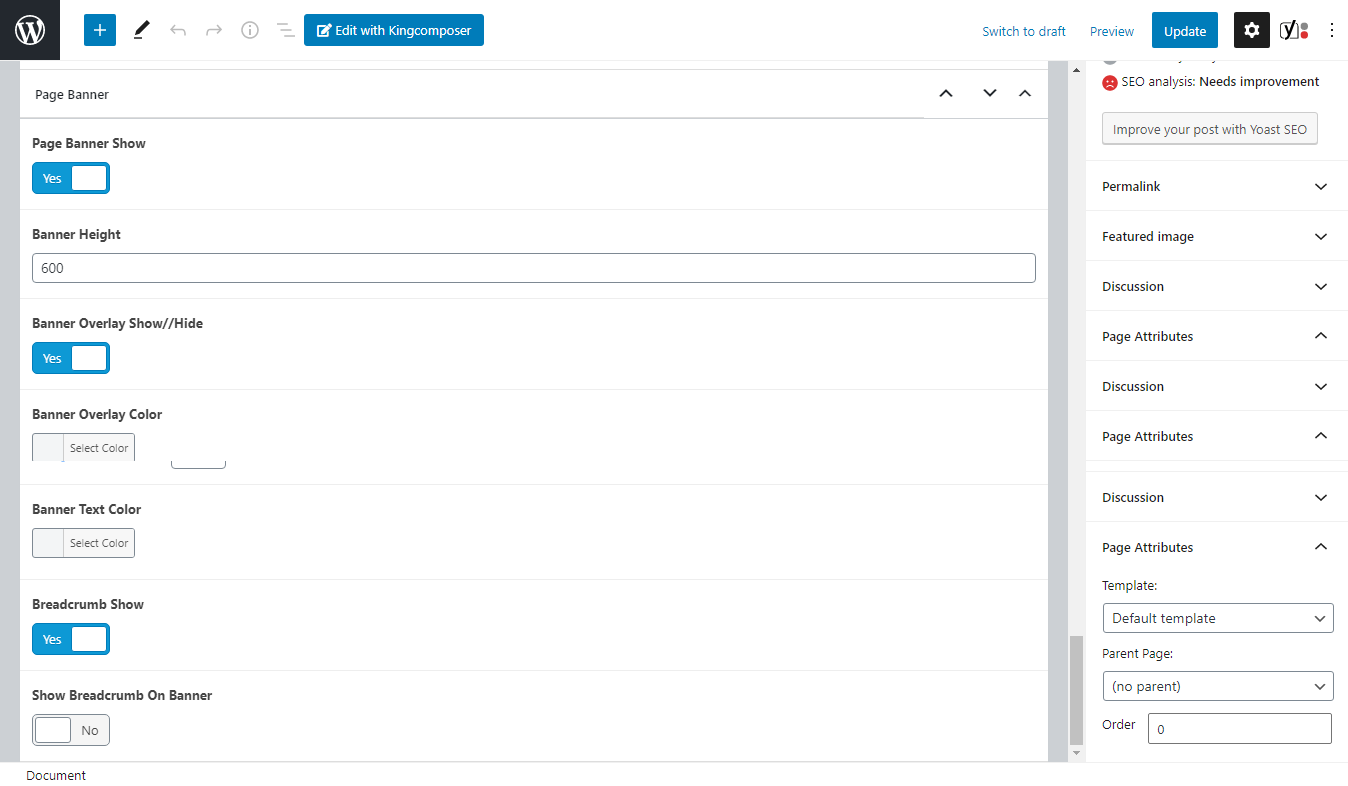
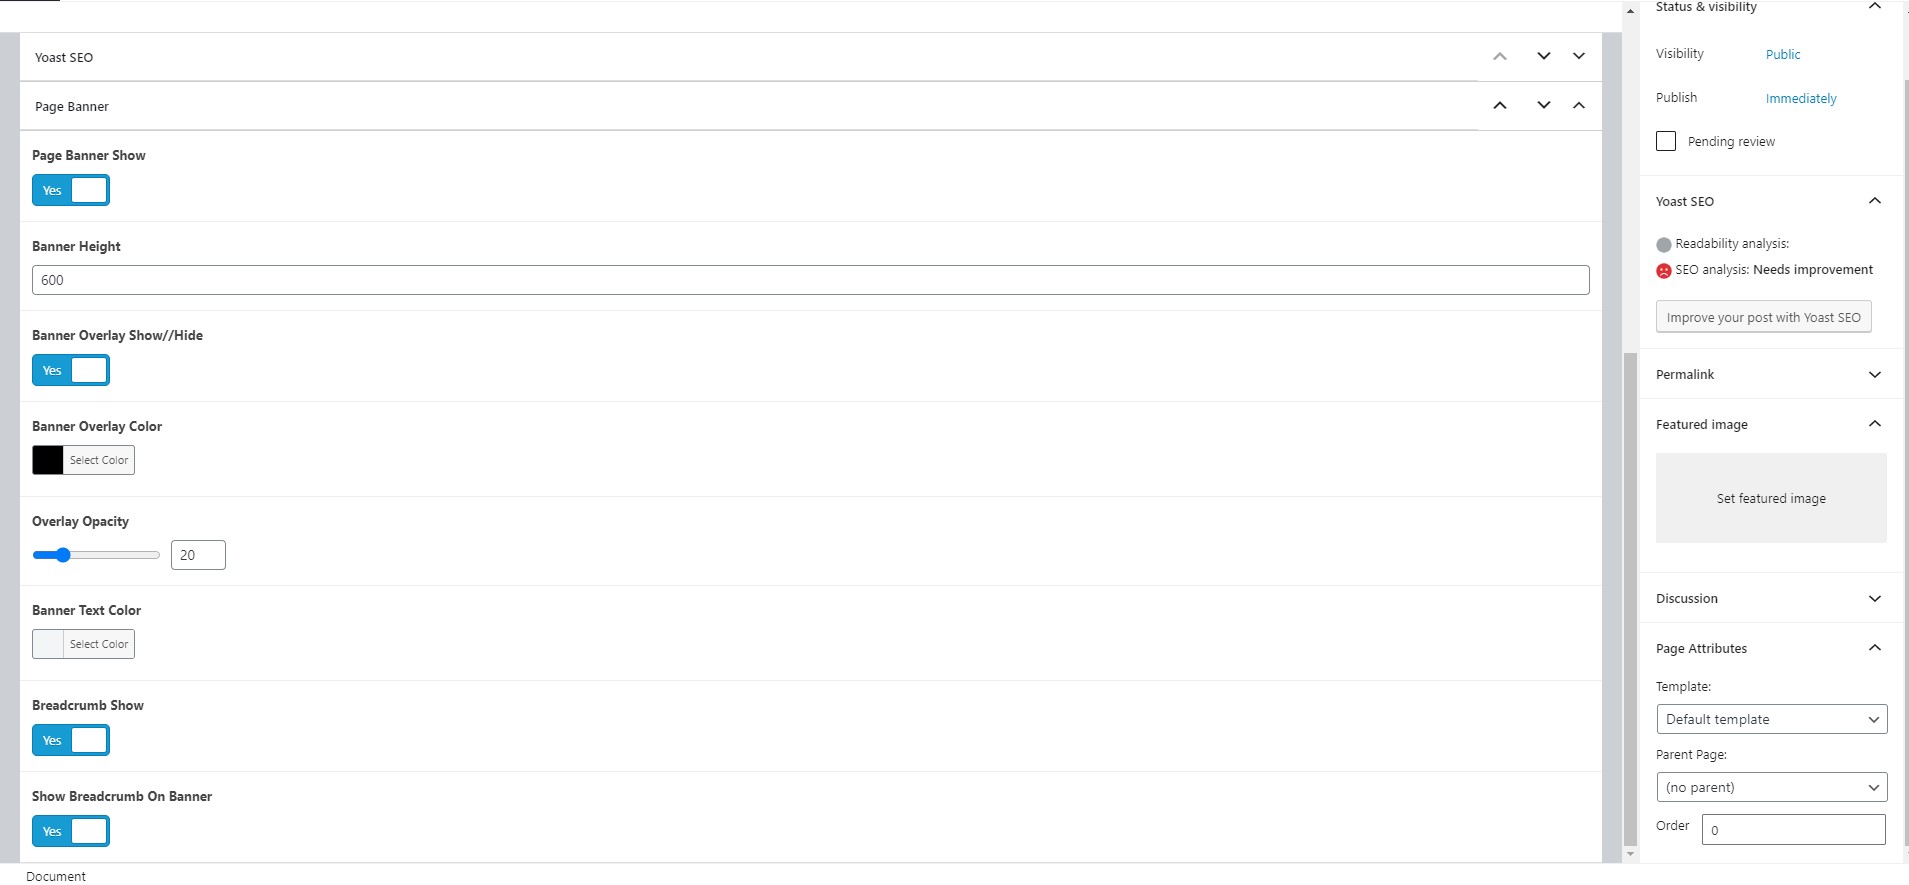
After selecting this page as front-page you can see some extra options below in meta box. Easily you can edit front page by this meta box.
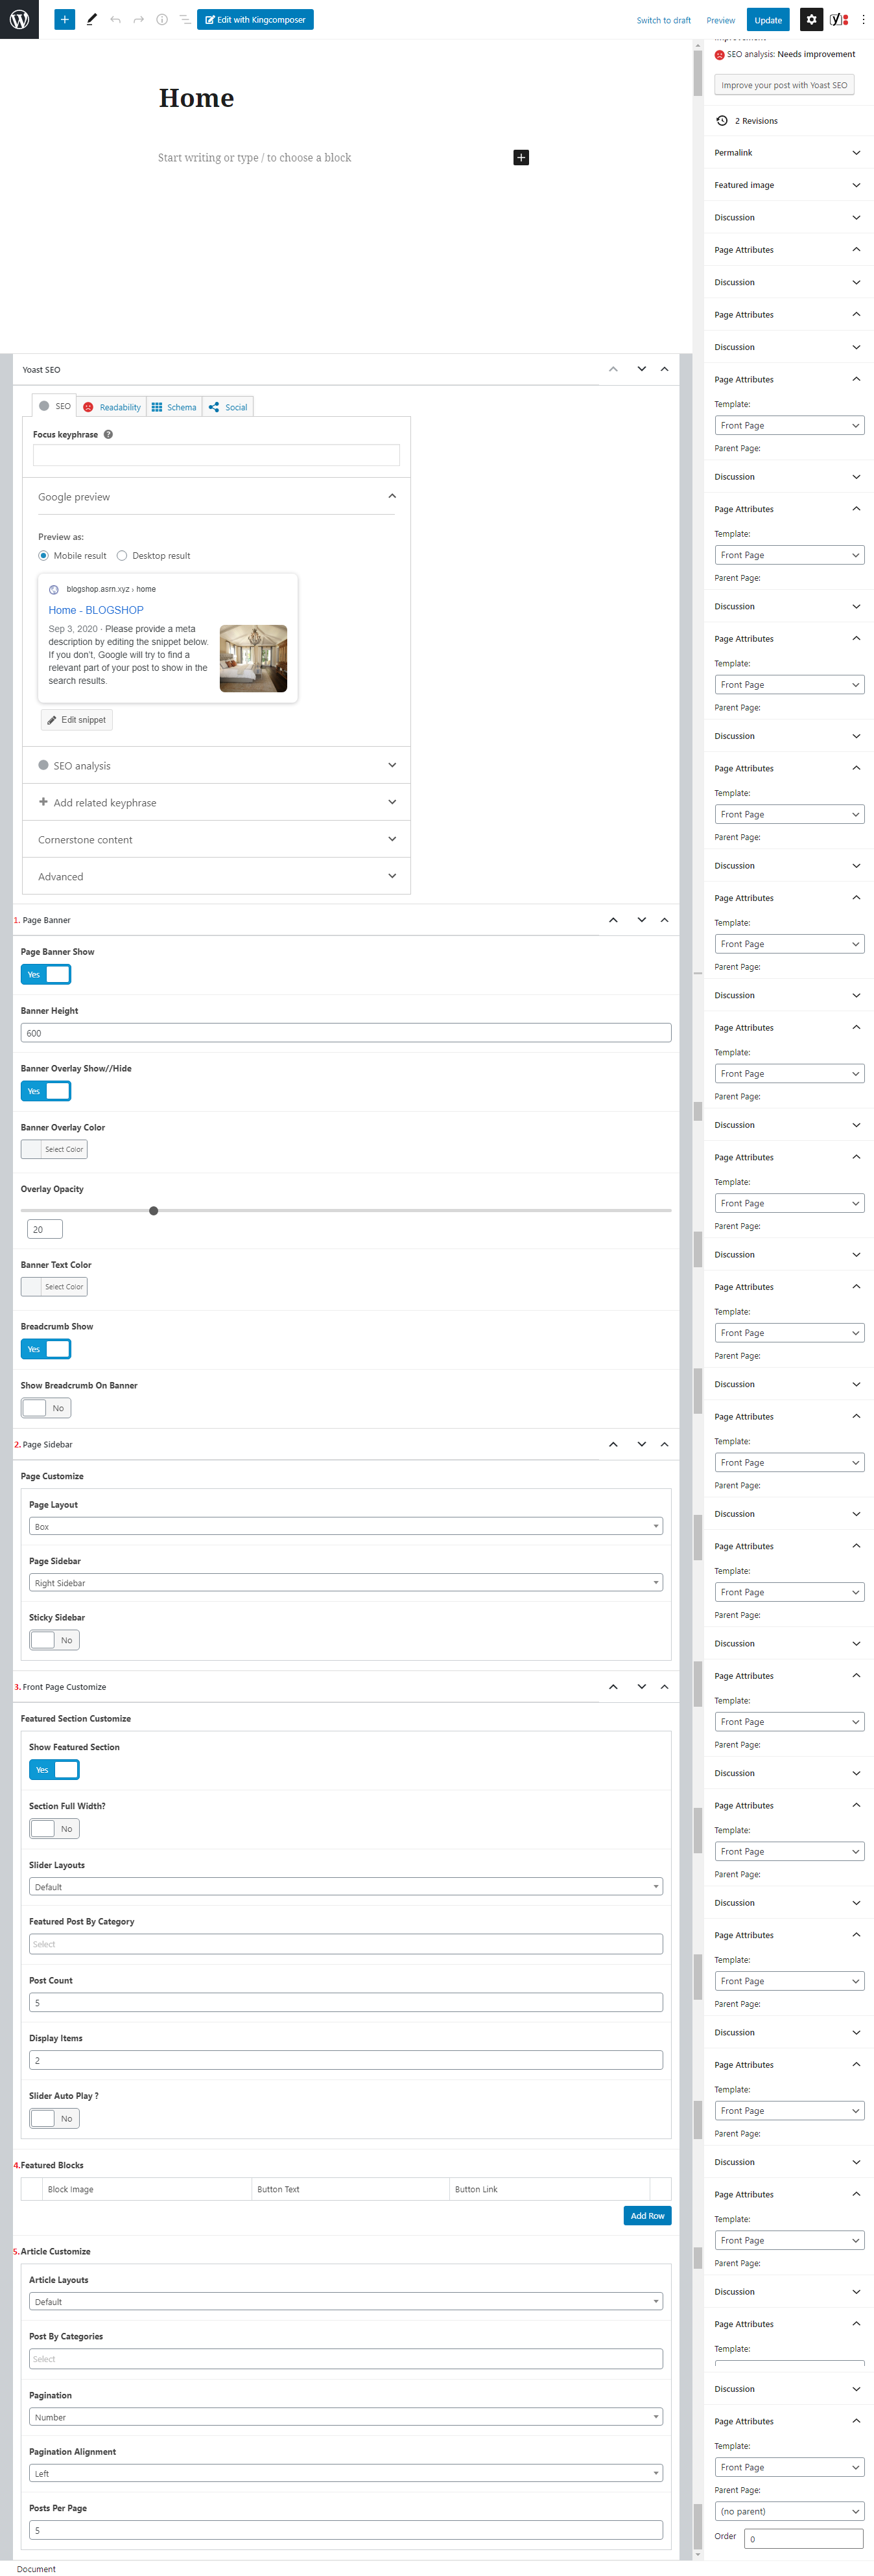
- Page Banner Show :- Select yes or no to show or hide banner.
- Banner Height :- Put a height for banner
- Banner Overlay Show//Hide :-you will get options for show or hide overlay.
- Banner Overlay Color :-Select overlay color.
- Overlay Opacity :-How much you prefer.
- Banner Text Color :-Select banner text color.
- Breadcrumb Show :-To show breadcrumb check this option.
- Show Breadcrumb On Banner :-If you want to show breadcrumb on banner check this option.
- Page Layout:-Two options for page layout Box and Fluid. Select which one you like.
- Page Sidebar:-Select Sidebar location from this dropdown.
- Sticky Sidebar:-Sidebar will be fixed if you select this.
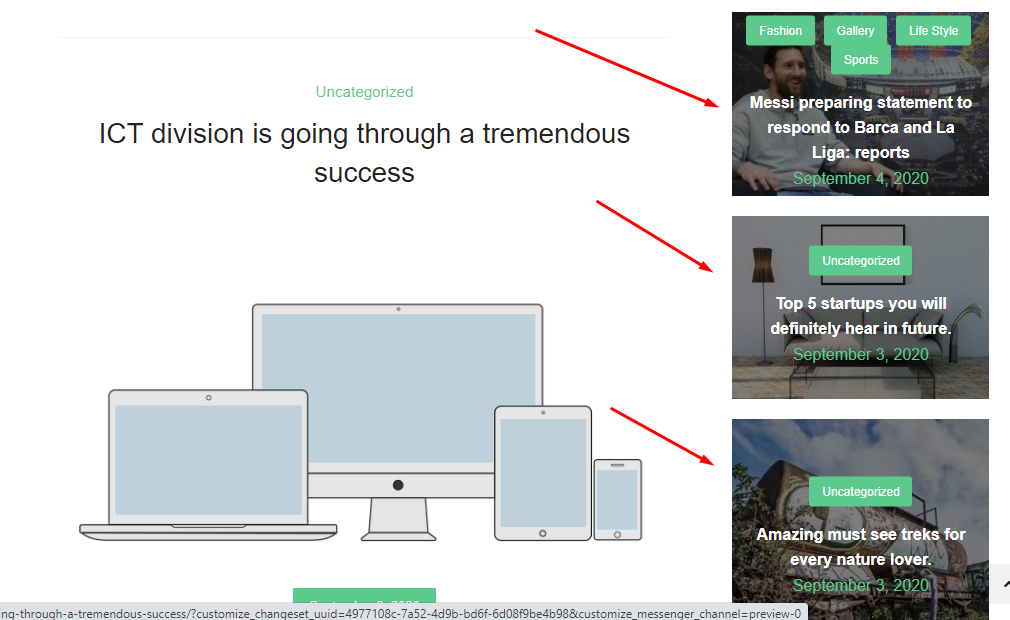
- Show Featured Section :-If you want to show this section,you have to click on this option.
- Section Full Width? :-Click yes/no to set its full width.
- Slider Layouts :-Choose one from this dropdown.
- Featured Post By Category :-Select category for featured post.
- Post Count :-How many post you want show in this section.
- Display Items :-These item will display in the front page.
- Slider Auto Play ? :-Slider will play automatically after selecting this.
Set block image,button text and put the link in button link.
- Article Layouts :-Which one you like Grid,List or default one?
- Post By Categories :-Select category for post from this dropdown list.
- Pagination :-It helps to show your posts in onether page. You can show this as number,text and infinity.
- Pagination Alignment :-Left,right or middle where you like to show pagination.
- Posts Per Page :-How many posts you want to show in one page.
It is the example of number pagination. you can try Load More or Infinity

For onether templete you won't get more options like front page. Such as, if you choose Default Templete you will get options like below.
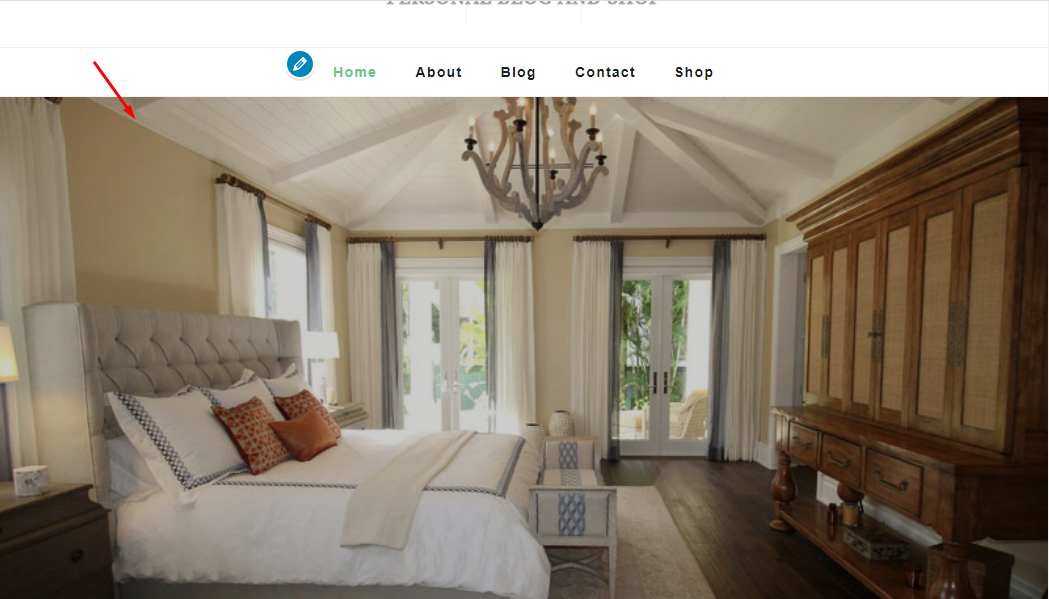
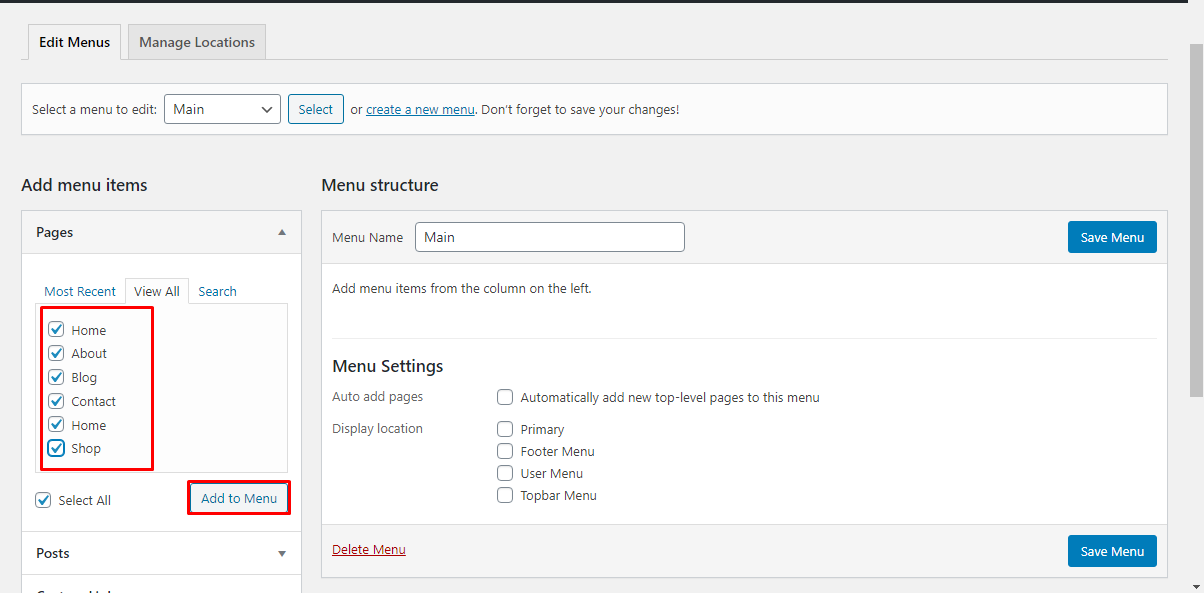
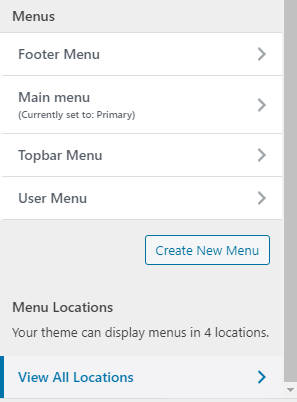
How to create Menu
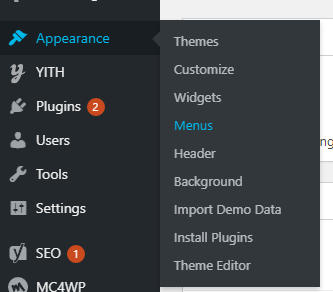
First Go to Appearance > Menus
Then Click on create a new menu
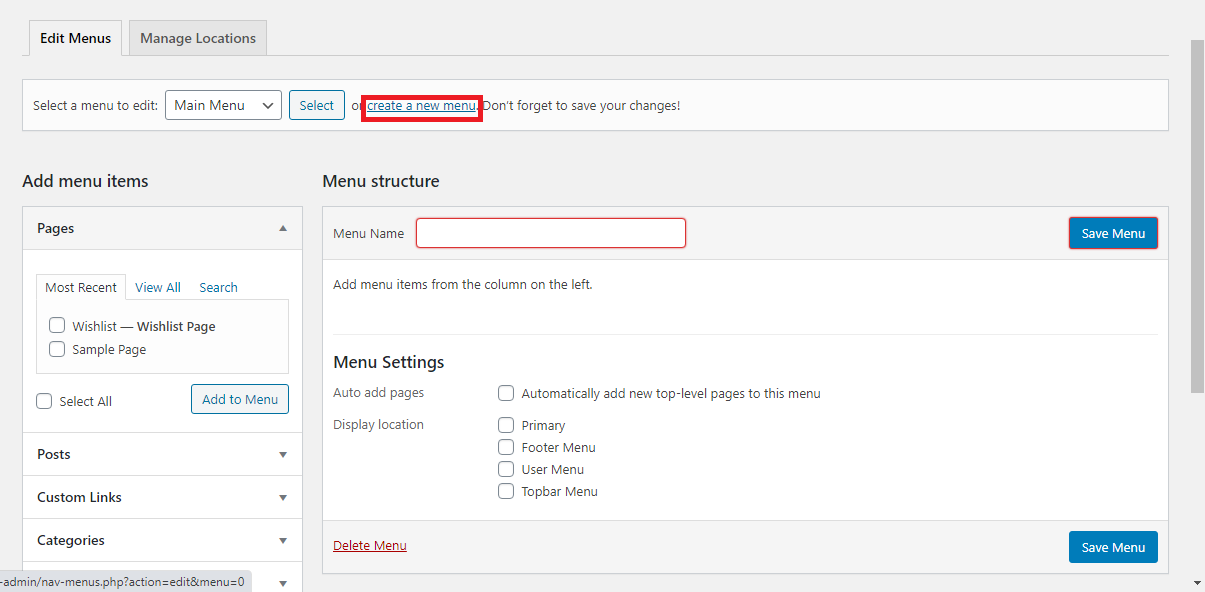
Select pages/posts/custom links/category as menu.
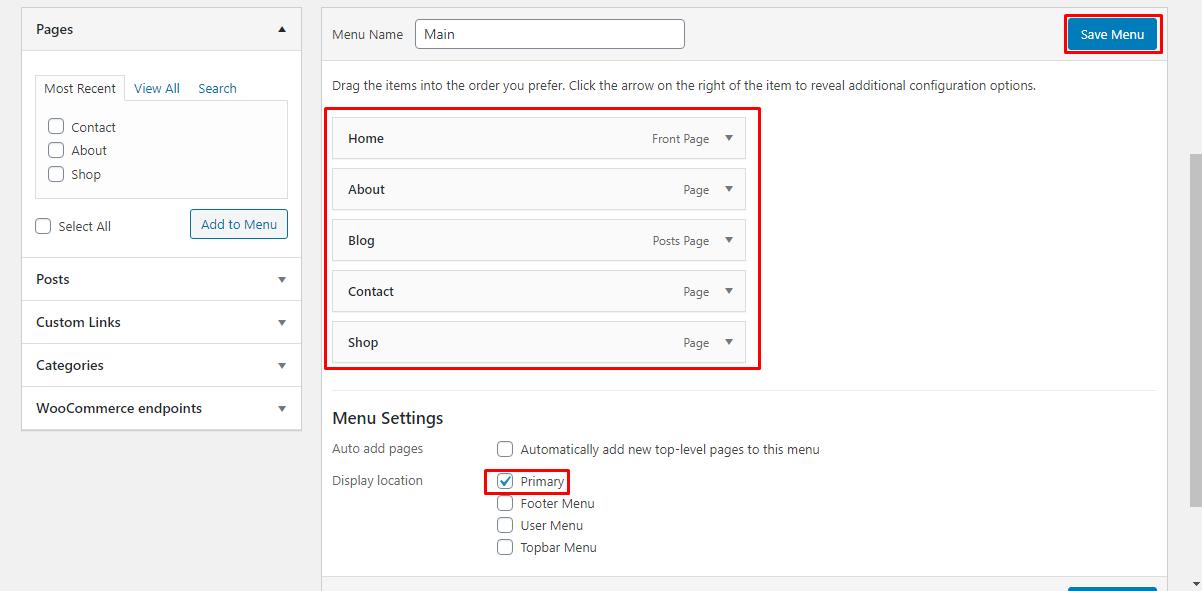
Here is your final work. Select this menu as primary menu to see this in the top. Otherwise select other options.
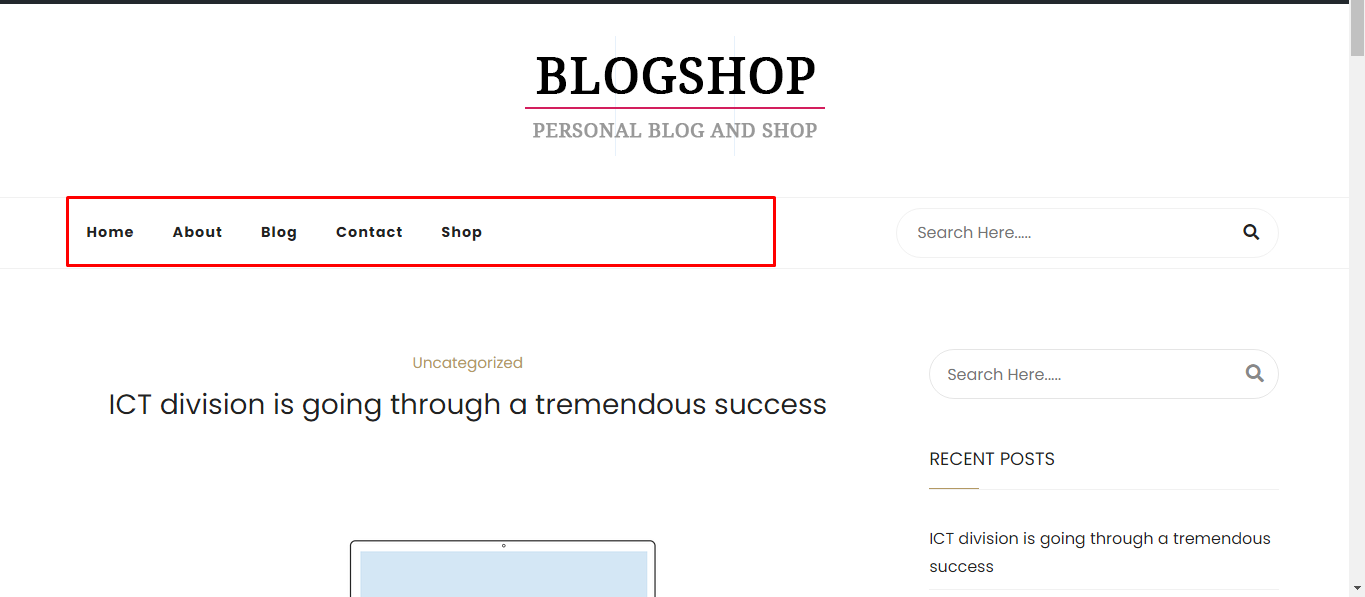
Your work is done. Now you can see a menu exactly where in below image.
Theme options
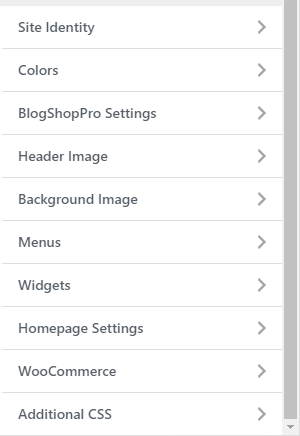
Using theme options, you can control every setting on the theme. Let’s start learning Blogshoppro theme options. Go to Appearance > Customize
General Options
- Site Identity : — You can change logo,site icon and display/hide site title with this option.
- Colors : — Text,header,buttons colors options are here.
- BlogShopPro Settings : — This option is clearly explaiend below.
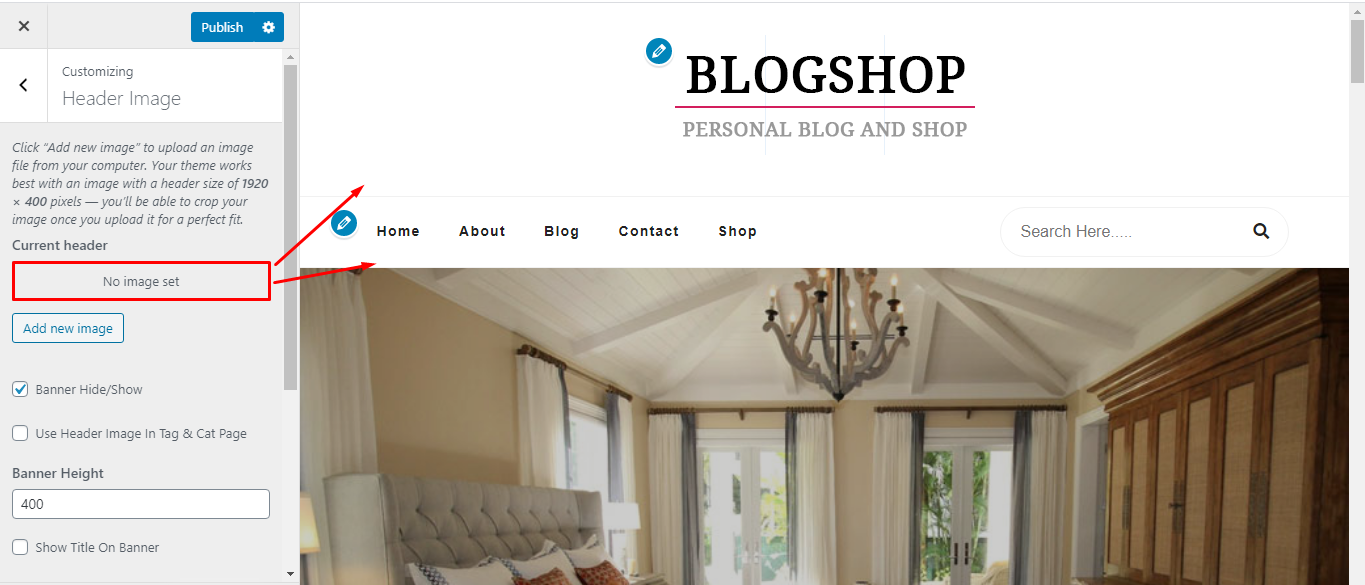
- Header Image : — Set an header image with this option.
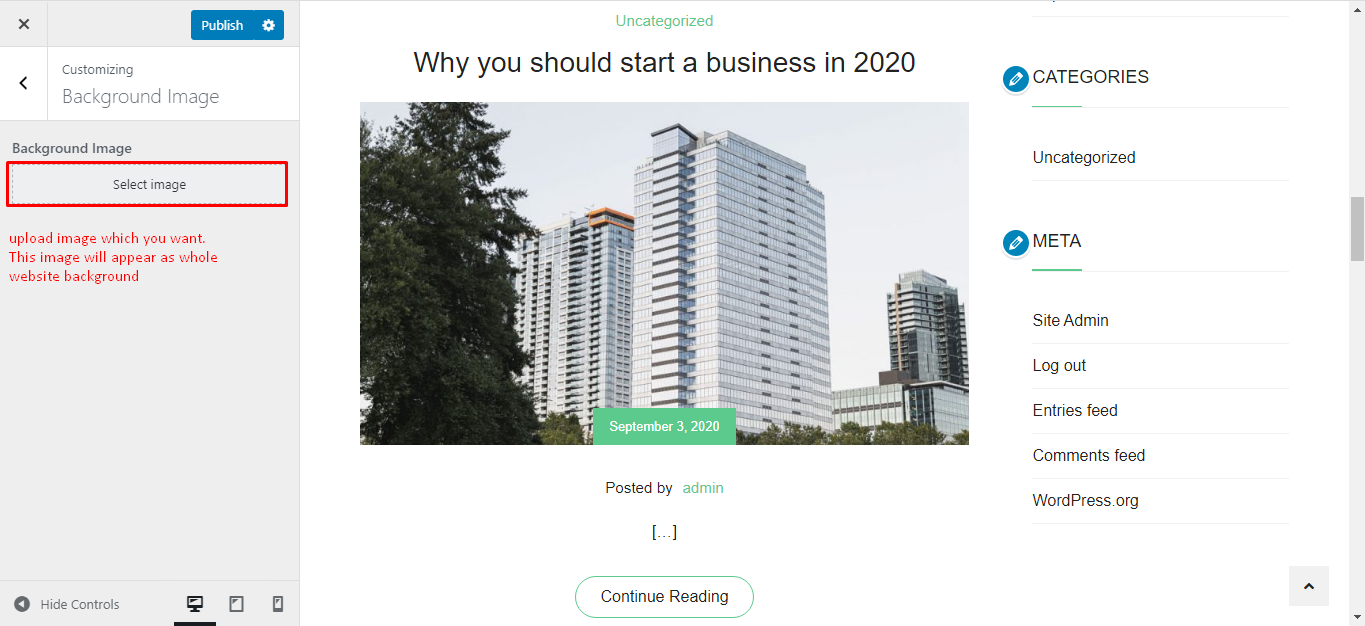
- Background Image : — Select background image for content section
- Menus : — Create or control menu from here.
- Widgets: — Add,Edit,Delete from widgets option
- Homepage Settings : — All of homepage option are available here.
- Woocommerce : — Ecommerce functionalities are available here. Details in below.
- Additional CSS : — If you want to implement your own style, this will help you to do that
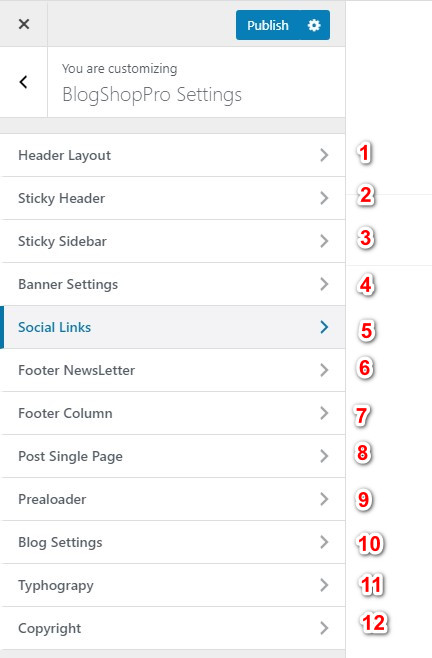
BlogshopPro Settings
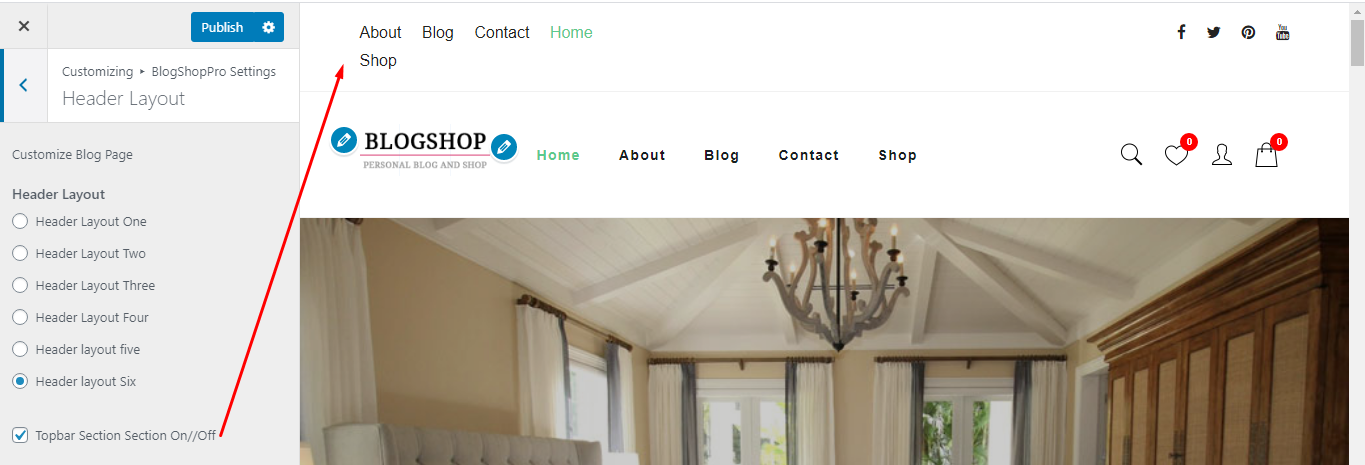
- Header Layout : — Header Layout change and All Other Header Options are available inside of this section.
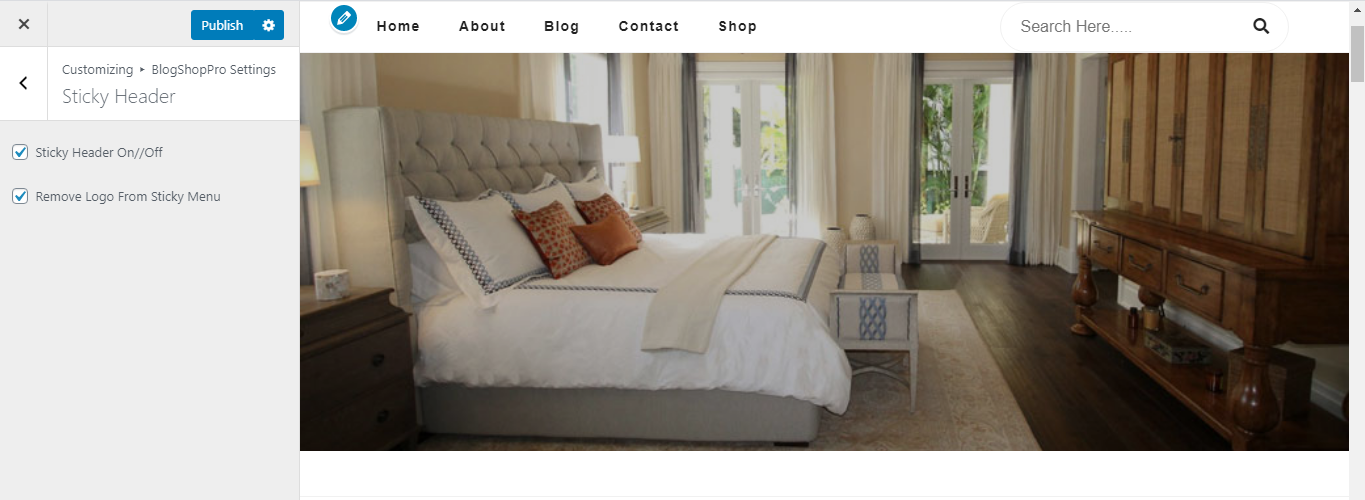
- Sticky Header : — Sticky Header On//Of options are available in this section.
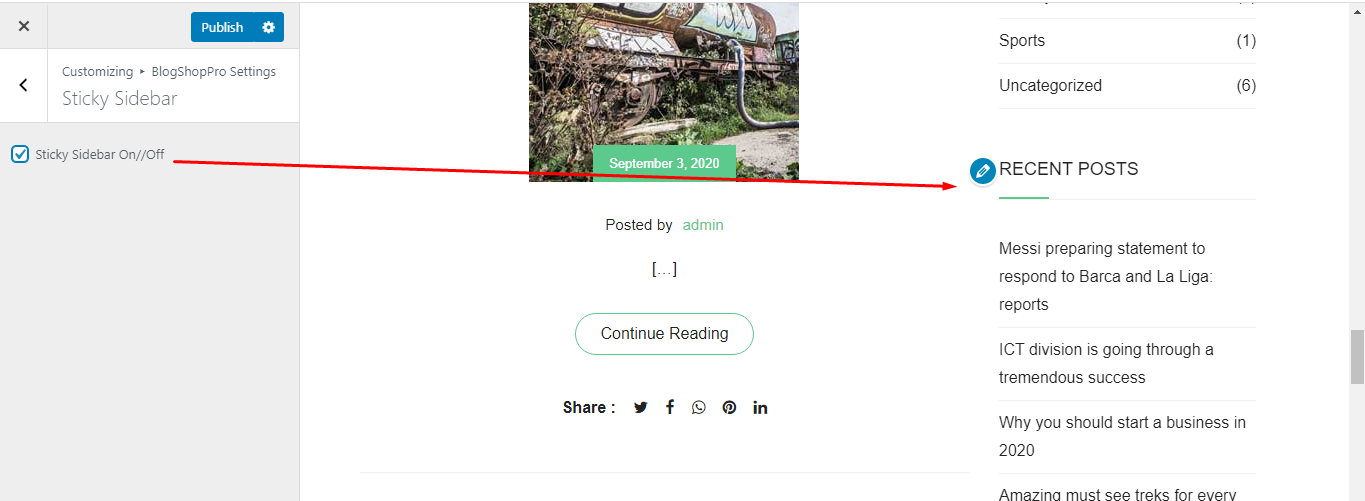
- Sticky Sidebar : — Sticky Sidebar On//of options are available in this section.
- Banner Settings : — All Banner Settings options are available in this section. this options will work for all default WordPress pages
- Social Links : — add all social icon from this section. there is a list of all social sites with input field. keep that field empty if you do not like to show any social icon.
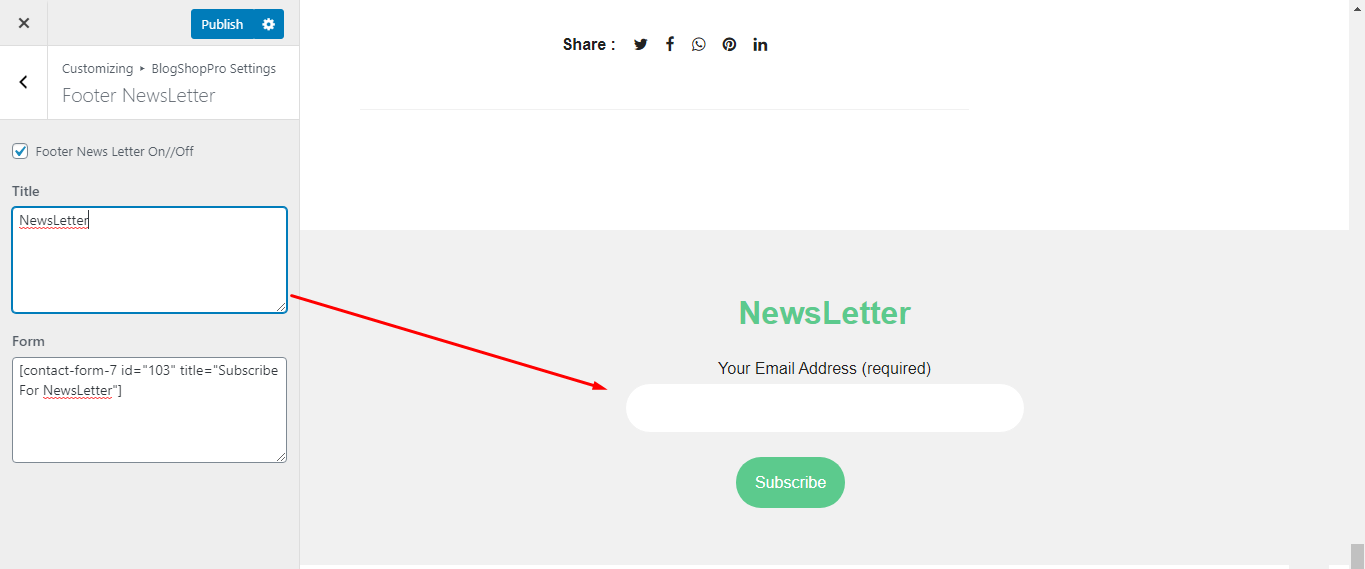
- Footer NewsLetter : — Footer Newsletter all customization option are available in this section.
- Footer Column : — Change Footer Column From this section
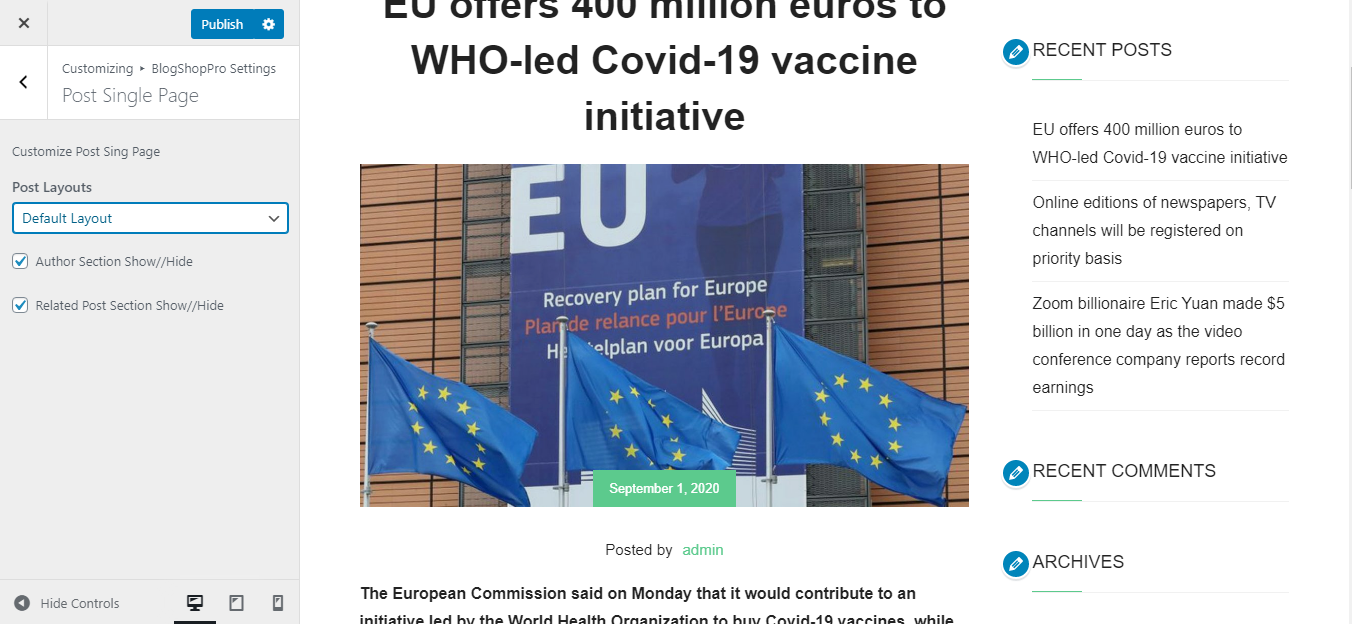
- Post Single / Post Page : — Post Single Page All Customzation options are available.
- Preloader : — You can Enable/Disable and change website preloader image from this section.
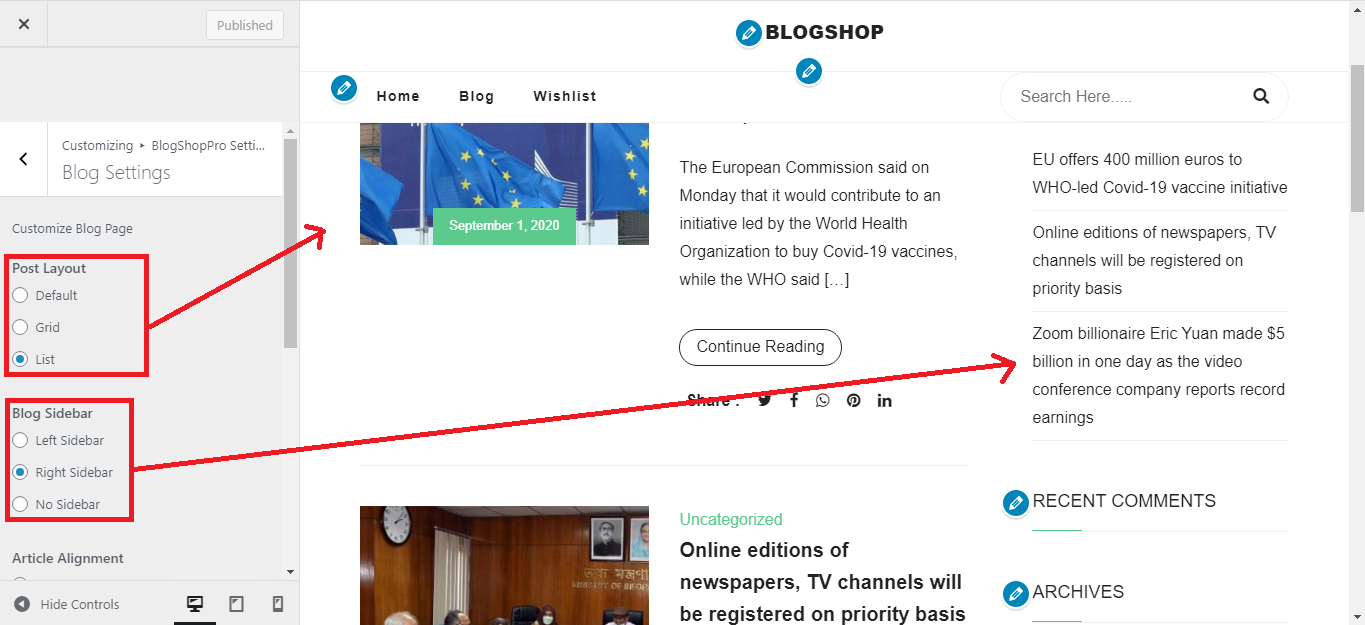
- Blog Settings : — This setting will work in all WordPress default pages. like archive page, category page, post page, and so on.
- Typography : — This Typography will change whole website typography.
- Copyright : — Customize footer copyright area.
Let's start customization.
1.Start with site identity.
To change logo upload your own logo here.
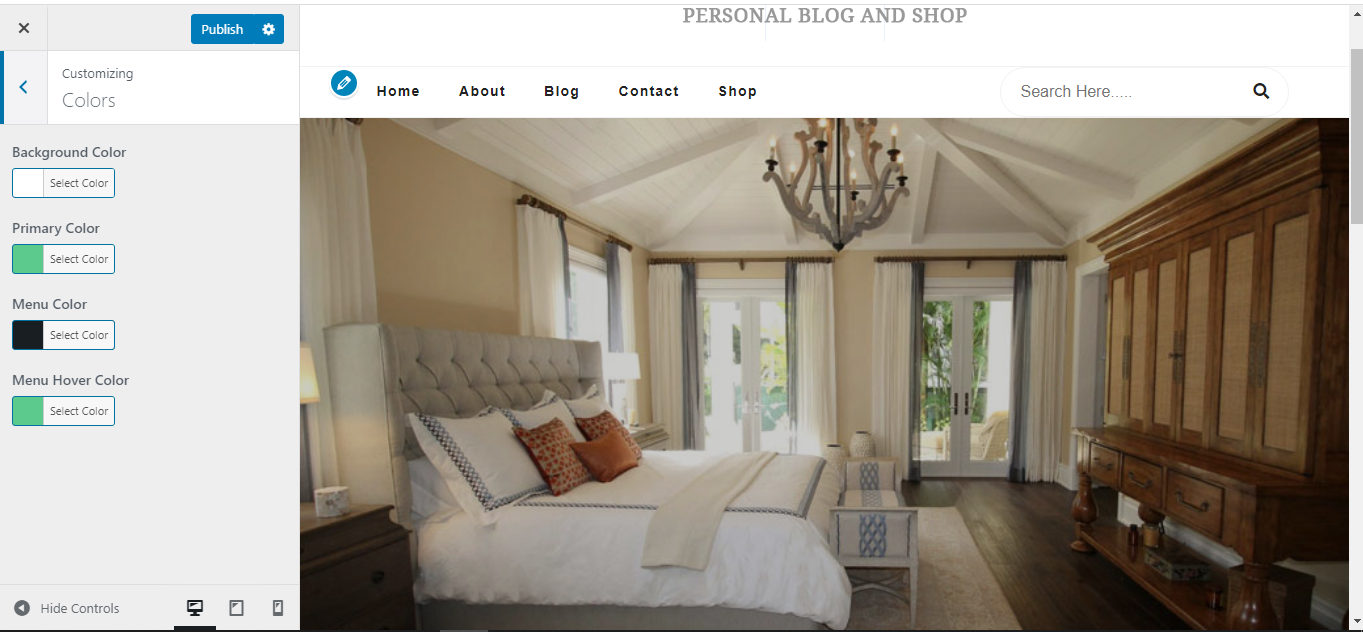
2.Colors
Background color,text color,hover color and primary color options are here.
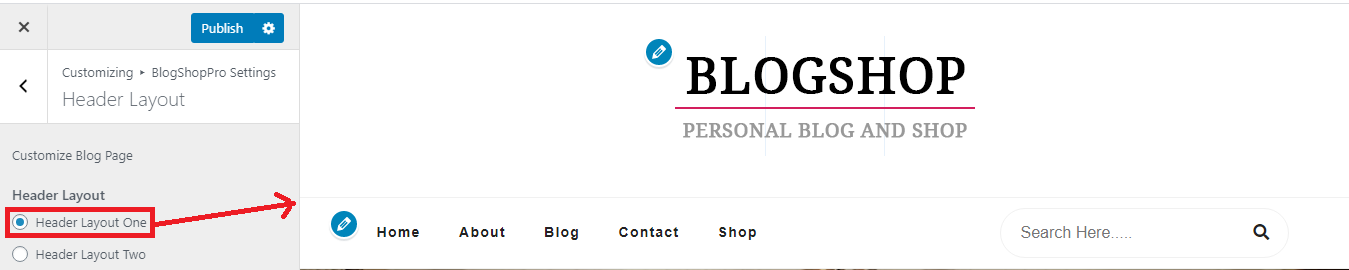
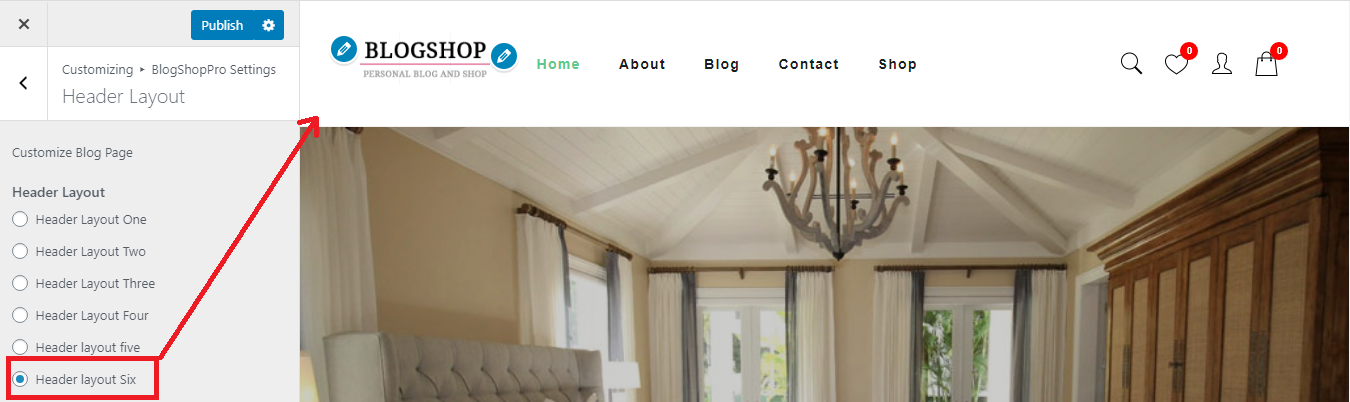
Header Layout
You will get 6 different Layout for Header. Select which one attract you most.Here is some example below.For example i have mentioned three layout below.

If you enable Topbar section you can see topbar menu and social links in the top which you put before.
Select This to fixed header in the top.
You can also stick sidebar by selecting this.
To get subscriber for your website you may keep this option on.
Choose your preferable layout for every single post. Edit author section, Show/Hide related post.
There are several options for post style,sidebar and article alignment. Select which you like most.
This image will set for whole website background.
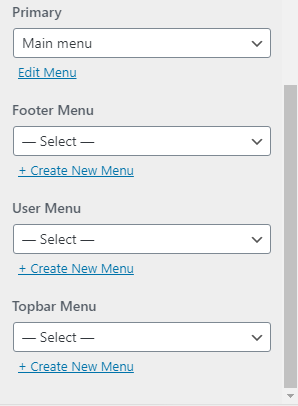
You can create menu for different section with this menus option.
Set menu location
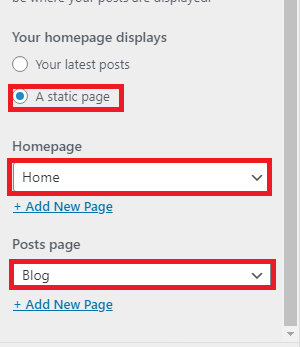
Select Home as homepage and for postpage select blog.
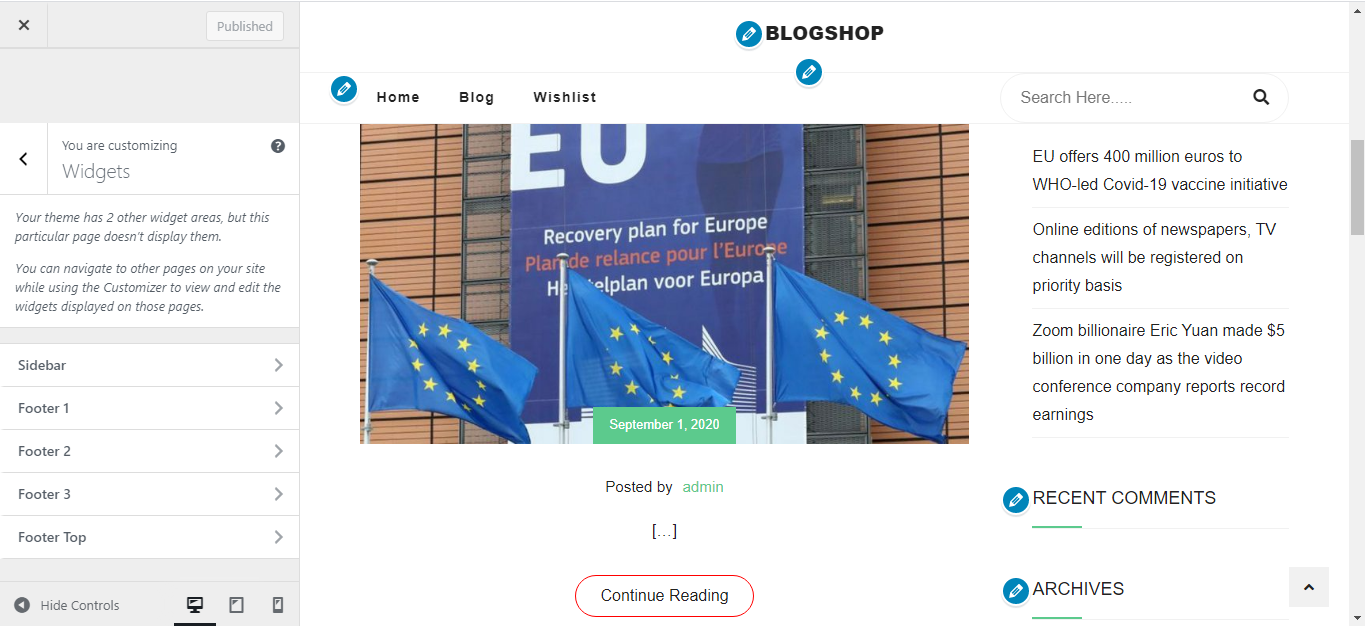
Widgets can contain at sidebar,footer,footer top etc.Also Clearly explained in custom widgets section such as how to add it.
Page Options
When you create or edit a page or post you will see few options for page or post settings on page/post bottom. You can change page/post layout, Header, Footer , hide /show banner, change banner title, images from these metabox options
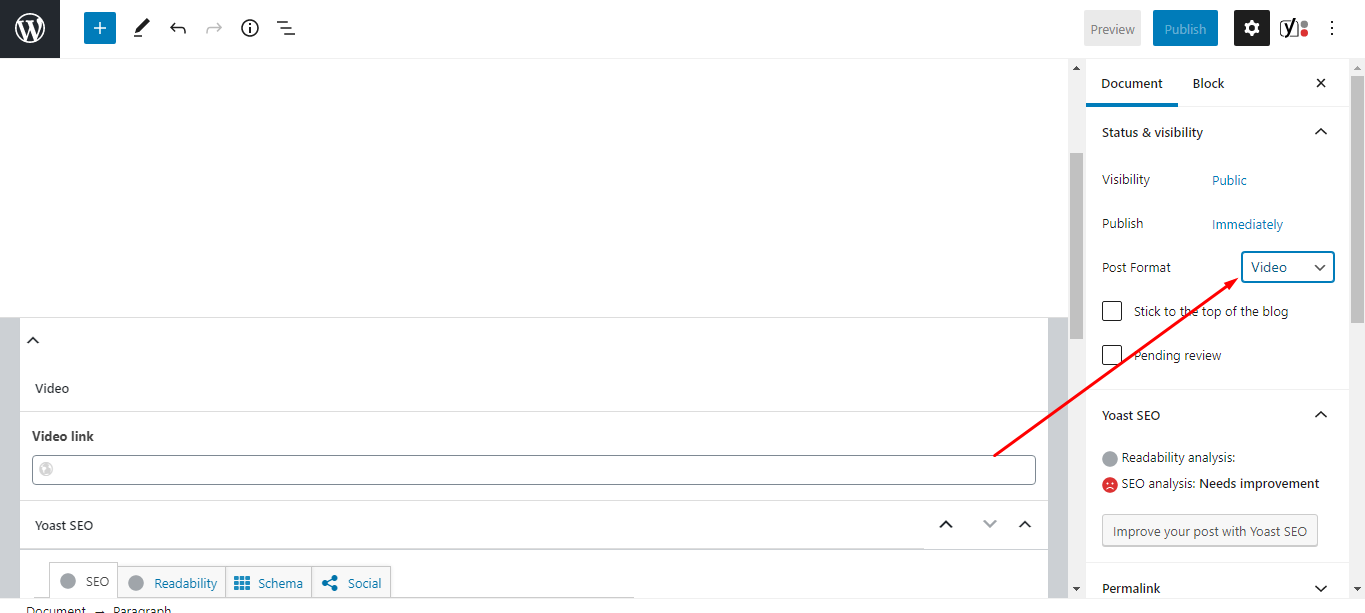
Page / Post / Custom post Settings
There are several format for post. Such as you want to post a video, just select video from post format then you can see option for video. In the same way you can other options from post format dropdown.
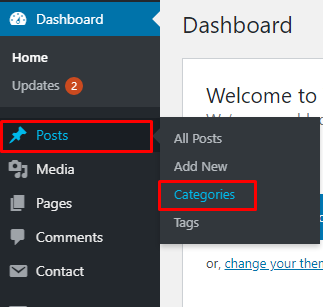
Categories image upload
Go to Posts > Categories
Scrool little bit down then you can found option for add image under category.
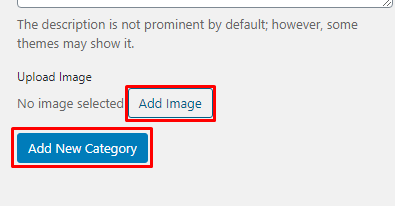
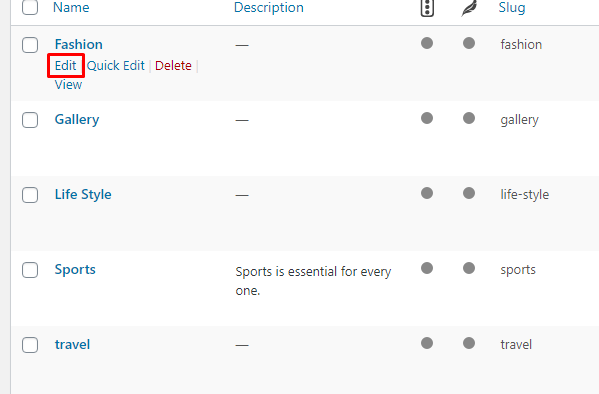
Or if you want to upload an image on existing category,you can do it like below.

Custom Widget
This theme provide custom widgets. To add this widget navigate to "Appearance > Widgets."
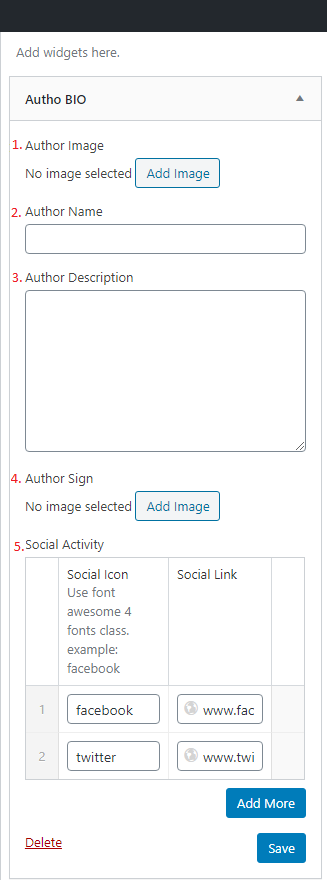
Author Bio
- Image: — Add author image.
- Name: — Author name here.
- Description: — Something about author.
- Signature: — Add Author signature here.
- Social links: — You can add social links as well.
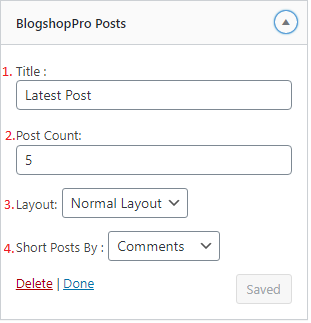
BlogshopPro Posts
- Title: — Type widget title here
- Post count: — How many post you want to show.
- Layout: — Select layout
- Sort: — Sort according you want to show
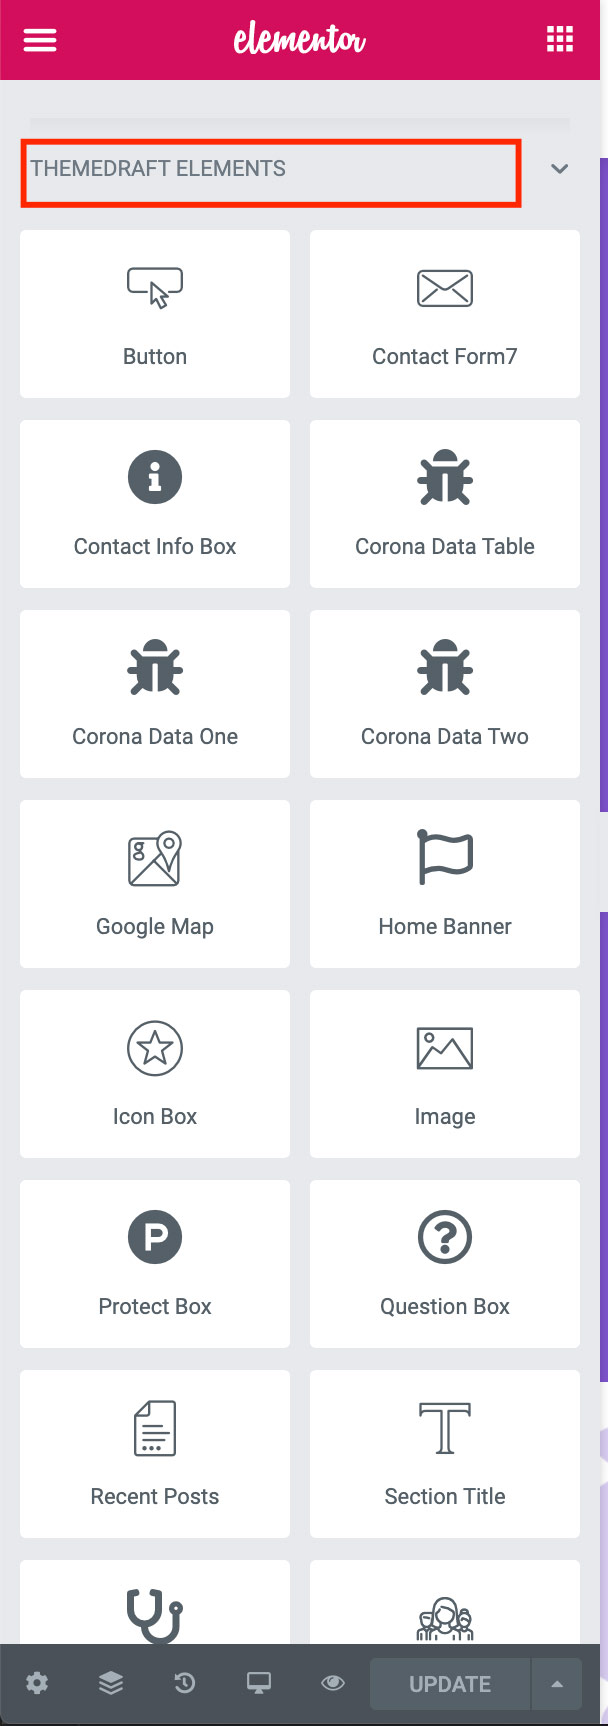
Elementor Widgets
When someone buys a theme which is compatible with a specific page builder we thought that he/she already knows about how to use that page builder. So we hope you already know how to use Elementor page builder. So we didn't make details documents for how to use Elementor page builder. We build Few custom widget for you.
Theme Updates
There are 2 methods to update WordPress themes to the newer version. These new updates are essential if you want to have a bug free website as we give new features and improvements to the theme over time. Some of these updates might be needed in order to make the theme compatible with WordPress newer versions. There is no risk of losing your settings and pages (If you don't edited theme core files). However if you had done modifications in parent theme files, then they will be lost.
Please note that before updating a theme, we recommend you to make a backup of your modified files. Also, we recommend to deactivate its current version and then upload the zip file with new theme version then activate and update the theme.
Using FTP
- Login in to your Themeforest account and go to downloads (Dashboard > downloads)
- Download the theme into your computer
- Install an FTP program (Filezilla is free)
- Retrieve your FTP login information from your hosting admin panel and login into your hosting via FTP
- Unzip the item main file
- Locate the BlogShop.zip file and unzip it. Make sure your unzipping software does not create an extra directory with the same name nested into each other.
- Drag and drop theme main folder into your FTP program with the destination: “YOUR_HOSTING_ROOT/YOUR_SUBDIRECTORY/wp-content/themes/”
- FTP program will give a warning that there is an existing with the same directory name, choose replace all.And wait until all files are replaced
Update Through WordPress Admin Panel
- Navigate to Appearance > Themes Activate another theme to deactivate the BlogShop theme
- Delete the installed BlogShop theme.
- Unzip the file you just downloaded from ThemeForest and locate the WordPress Theme BlogShop.zip
- Still within the Themes section, on the header tab, click on “Install Themes” , then on the header second tab click “Upload” .
- Click “Browse…”and locate the new theme file BlogShop.zip
- The “Upgrade existing theme?” option choose “Yes” from the dropdown list.
- Click “Install Now”.
- Click “Activate”.
Support / Contact With Us
Please follow the steps below :
- Please go to support.themedraft.net
- Register an account or Log in your account.
- Find BlogShop theme forum and create your topic. Click here for BlogShop theme forum
Update History
                    ----- 1.0.7 ( 3 July 2020 ) -----
                    Updated: Core Plugin.
                    Update: Language File.
                    Fixed: Show Specific Country Data.
                    Fixed: Minor CSS Issue.
                    ----- 1.0.6 ( 12 May 2020 ) -----
                    Added: Secondary Color Change Option ( Appearance -> BlogShop Options -> General Options -> Secondary Color )
                    Added: Enable/Disable Sticky Header ( Appearance -> BlogShop Options -> General Options -> Header Options )
                    Updated: Core Plugin.
                    ----- 1.0.5 ( 5 May 2020 ) -----
                    Added: Header Style With Shopping Cart Icon (Appearance -> BlogShop Options -> Header Options).
                    Updated: Core Plugin.
                    Update: Language File.
                    Fixed: Minor CSS Issue.
                    ----- 1.0.4 ( 3 May 2020 ) -----
                    Added: Home Page Two.
                    Added: 5 New Custom Elementor Widget.
                    Updated: Core Plugin.
                    Update: Main CSS File.
                    ----- 1.0.3 ( 29 April 2020 ) -----
                    Added: Primary Color Change Option.
                    Added: Footer Virus Image Change Option ( BlogShop Options -> Footer Options )
                    Updated: Core Plugin.
                    Fixed: Minor CSS Issue.
                    ----- 1.0.2 ( 27 April 2020) -----
                    Added: WooCommerce Support
                    Updated: Core Plugin.
                    ----- 1.0.1 ( 26 April 2020) -----
                    Added: Style Option For All Elementor Custom Widget
                    Added: Using URL Option With Icon Box Title.
                    Updated: Core Plugin.
                    Fixed: Minor CSS Issue.
                    ----- 1.0.0 ( 25 April 2020) -----
                    Initial released
Just put the link of social media which you want. If you do not want to show social links, keep empty of social links input.